looking at my home office setup
There’s probably oodles of articles like this by now, but this is mine.
So, since roughly march last year, I’ve worked exclusively from home. At the start, I simply plonked down the company laptop on the dinner table, but then gradually reworked and upgraded the setup.
This is how it looks today:

Let’s break things down bit by bit, and explain the history and purpose of the individual parts.
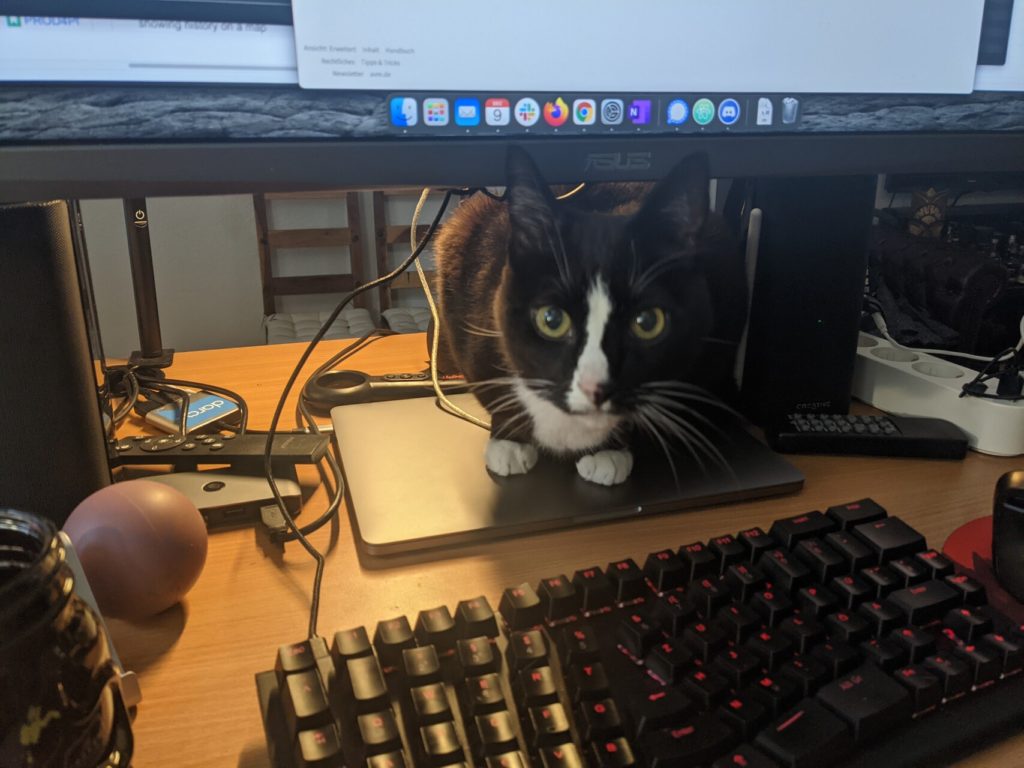
The monitor is an ASUS 34″ gaming monitor that I bought when I finally retired my old All-in-One deskop PC and got a plain midi-tower unit instead. That PC is fit for gaming, and used to sit on top of the desk, behind the monitor. Alas, the company laptop wants to be used daily, so I needed a permanent space for it. That means that now the PC is strapped to the side of the desk.
The desk itself is a motorized standing desk. As you can see, it is pretty deep, but only 80cm wide. It is that deep because by now it is old enough to buy alcohol in the States. And back in 2000, desks had to fit ginormous CRT monitors. The small width is due to the fact that it originally was part of a combination next to a much larger desk. When I was still working in Hamburg, it accompanied me through several offices (all part of the same company group), and when I moved to Berlin in 2015, they let me take it to my new home. Having it in the living room is ok, as it doesn’t take up too much space, and the cats appreciate its placement close to the window.
When I sit, I sit on an IKEA stool. It is one of these ergonomic things that keeps wobbling a bit, thus allegedly strengthening my back.
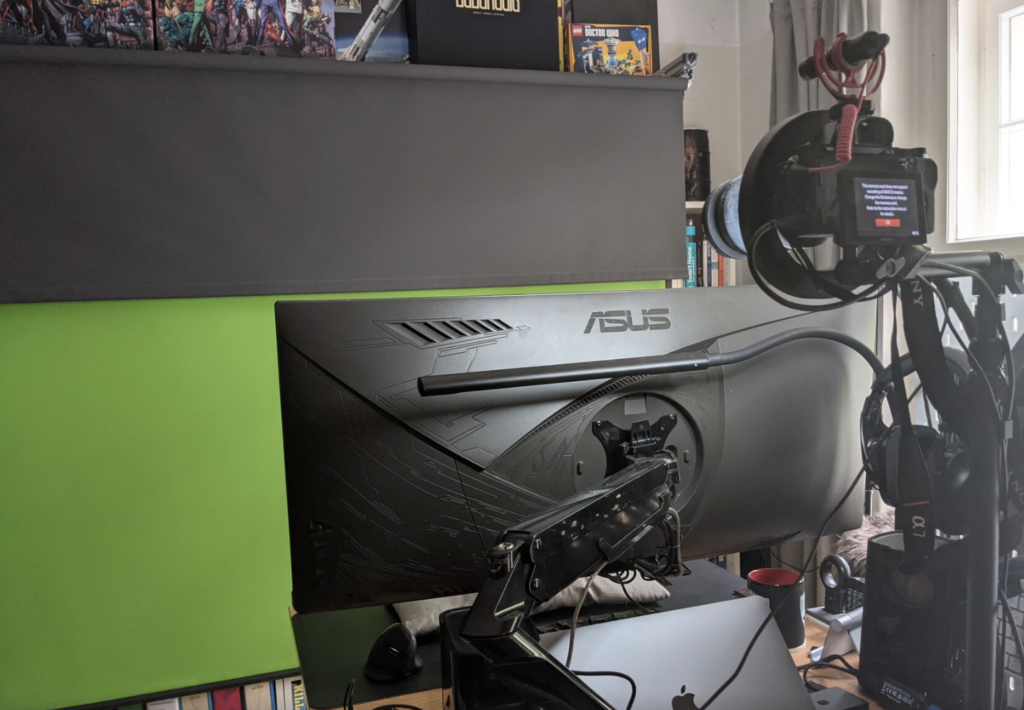
Eventually I attached the monitor to a heavy duty arm. The main purpose of that arm is to free up desk real estate. The rather bulky original monitor stand, plus PC, plus Notebook, plus peripherals made the desk too cramped.
As the PC is strapped to the side of the table, I also managed to route all the cables more or less prettily.

All I/O peripherals like mouse, webcam, keyboard, etc. are attached to the monitor and a switching USB hub. So when I switch devices, I press one button on the USB-switch and also select a different input on the monitor. That is pretty painless and saves me from constant re-plugging of devices.
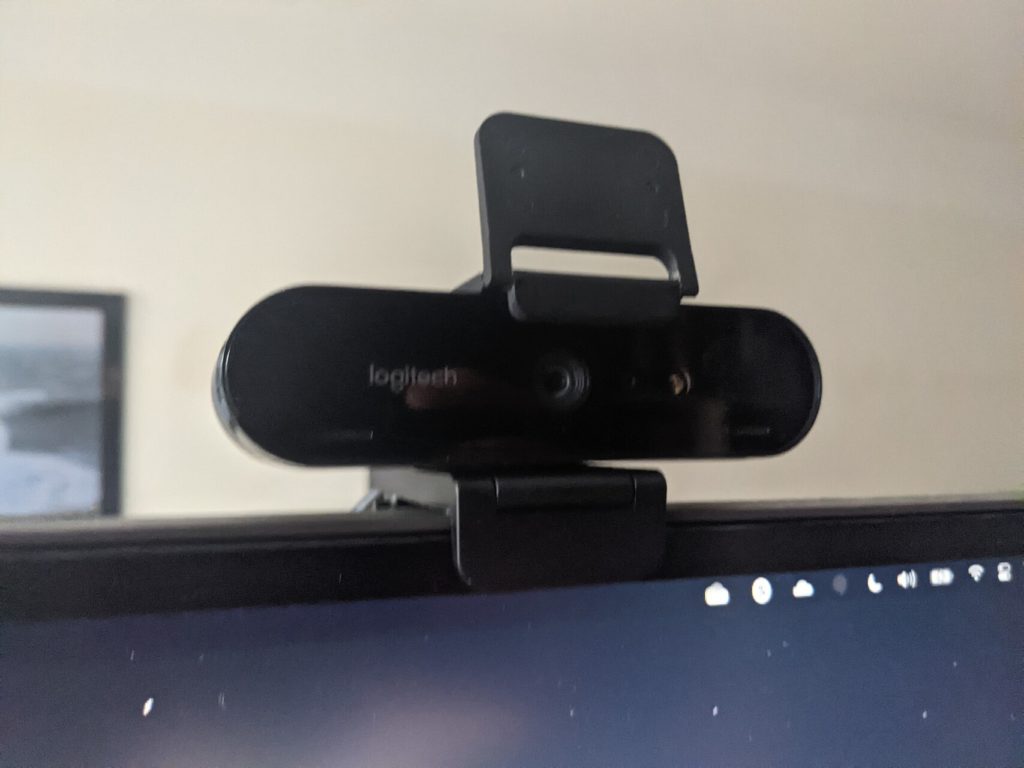
For the longest time, I used a Logitech BRIO webcam. It is nice enough, and especially the built-in microphones are pretty decent. But as I do not live alone in this place, I most of the time use a set of Bose QuietControl 30 Bluetooth earplugs. The battery lasts for about two days of calls and the active noise cancelling lets me be undisturbed.
When I am not sitting or standing, I walk. Right under the desk sits a desk treadmill. To use it, I just push the desk back about 1 meter (it is on wheels) and start the thing up. That takes about 30 seconds of effort, and then I’m off. By now I can actually walk and work at the same time, this blogpost is being written as I am walking!
Overall, I spend about only a quarter of my desk time sitting, the rest of the time mostly standing or walking.

In order to keep my hands and wrists healthy, I have switched to an ergonomic keyboard and a wireless vertical mouse. The keyboard has a detachable numblock, and I am quite happy without that thing — I need it only rarely, and it does save that sweet desk real estate!

The monitor has built-in speakers, but frankly, they aren’t the best. Instead I plugged in a pair of Creative monitor speakers. They are small enough but have decent enough sound for YouTube videos and the occasional game.
As my job has me do lots of videocalls with various degrees of expectations regarding my „professional look“, I eventually attached a simple dark gray roll-up shade to the top of my bookshelf. In day-to-day use, it is rolled up and hidden, but whenever I do not want to show off my collection of roleplaying books, I can pull it down to get a nice clean background.
Behind the gray roll-up is a greenscreen roll-up. Using Open Broadcast Studio I can key out the background and do other video shenanigans to make my life easier and looking more professional.
Pro-tip if you want to use a green screen: Do not skimp on light. The better your lighting, the easier it is to key out the green. I added two inexpensive Neewer brand light sticks to my setup — one lives inobtrusively in the corner and the other moonlights as a workbench light and gets carried over whenever I need to do „proper“ videoconferencing.
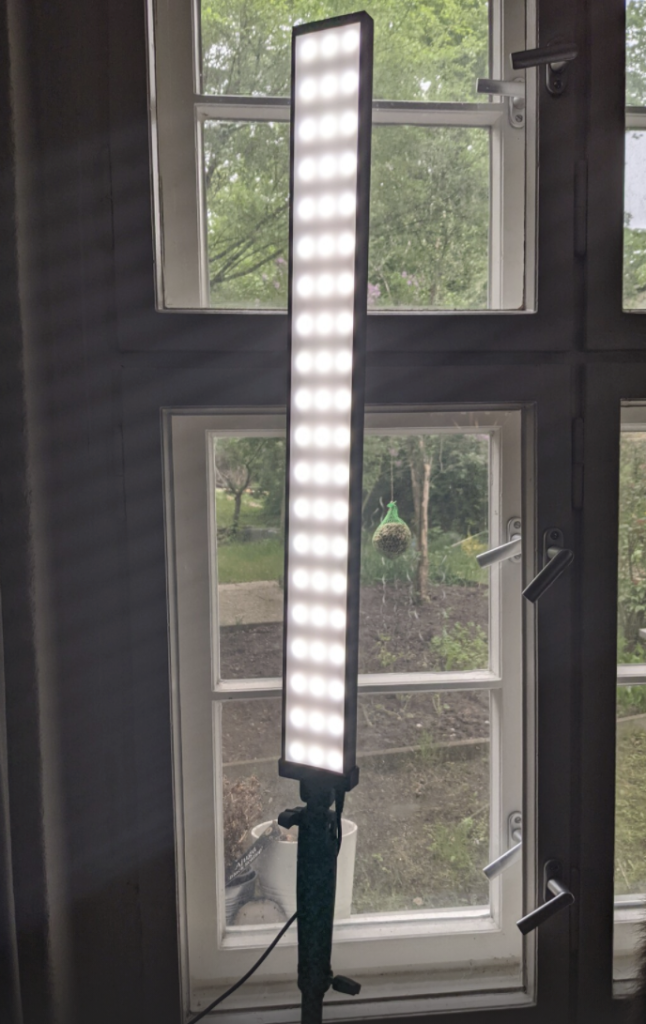
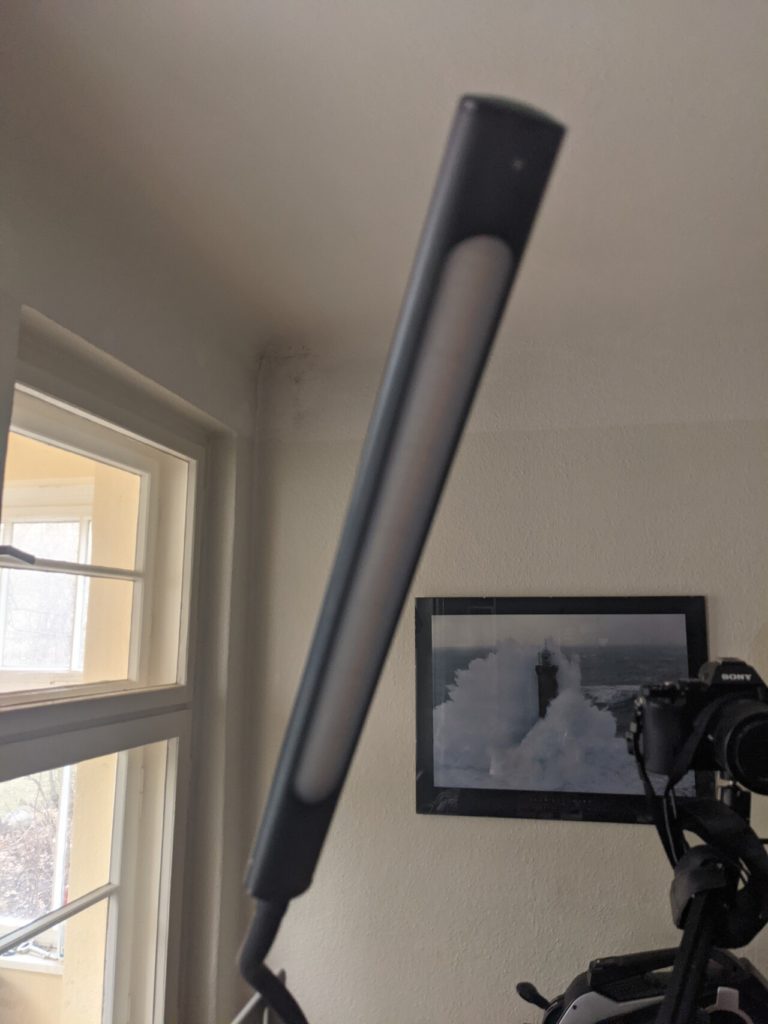
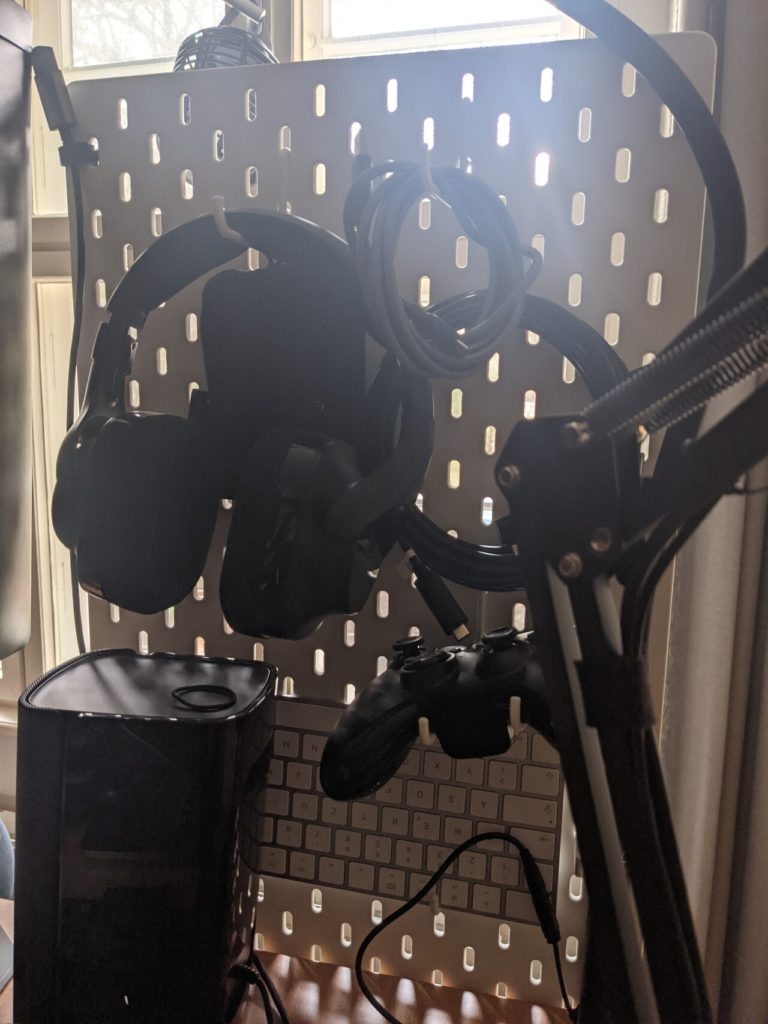
The desk has a simple LED light stick on a gooseneck stand attached to it. It has some brightness and light temperature settings, which helps a lot with eyestrain in the evenings. As the desk has no drawers or similar, I attached an IKEA pegboard to the side, to hold cables, adapters, headphones, and so on.
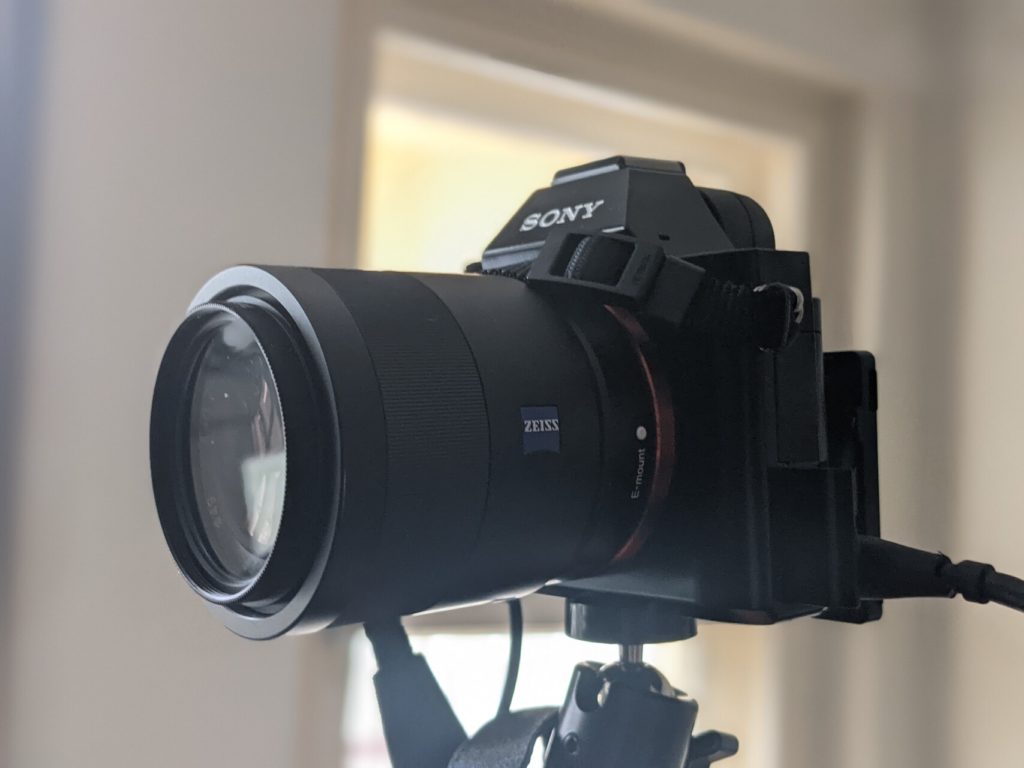
The latest addition to my setup has been a Sony A7S digital camera, sitting atop a cheap camera arm. It is attached to the USB-hub via an Elgato Camlink 4K stick and thus provides quite an excellent alternative to the Logitech webcam. People I videoconference with keep noticing the vast quality difference. Having the background blurred by actual optics instead of some algorithm is really an upgrade. (which I wouldn’t have afforded myself if I hadn’t gotten a good deal for the camera from someone who realized that they didn’t use it all that often.
If you want to use your DSLR as a webcam: Check if it either has a firmware update that lets you use it directly through USB, or that it at least can deliver a „clean“ HDMI output. The latter means that there are no on-screen menus visible on the HDMI signal. The Sony A7S does both, but I learned that the USB-webcam functionality is pretty bad. It requires a certain sequence of switches each time you turn the camera on, and doesn’t work with all programs on a Mac either.
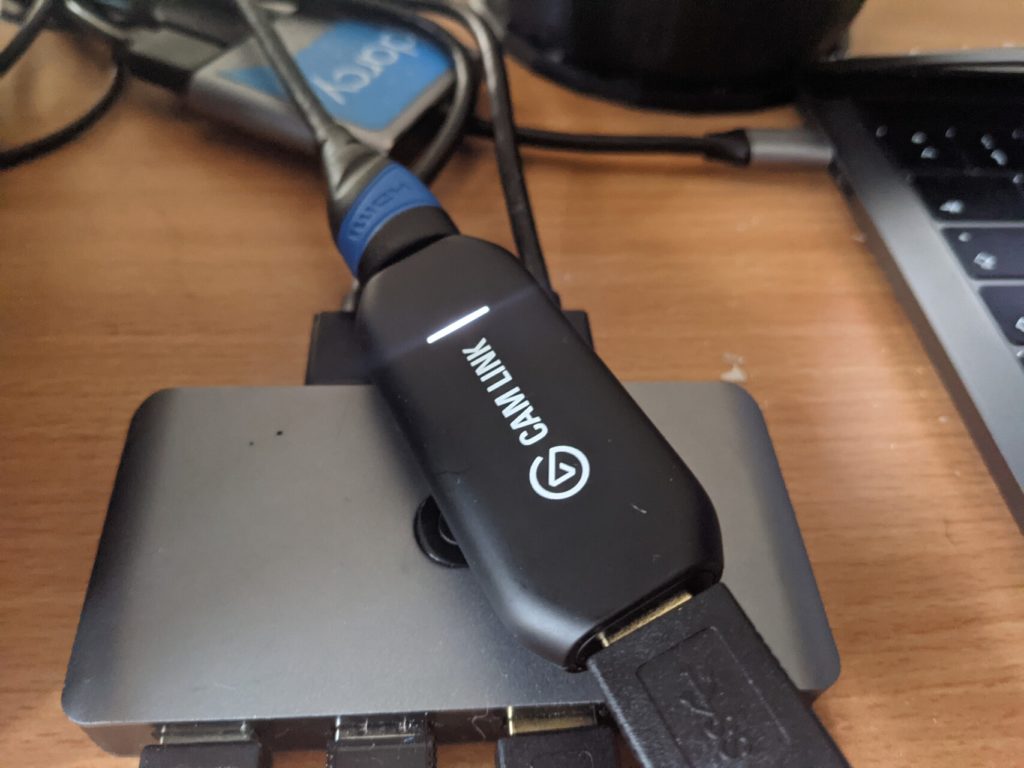
The Elgato Camlink solves that rather elegantly. The other thing I did was to get a so-called „dummy battery“, which you put into the camera instead of a battery and that then draws power directly from a USB charger. I set the focus to automatic, the camera to „video mode“ and now I just need to power the USB cable and everything works.
(if you use Windows 10 and the stick keeps disconnecting — download the Camlink capture software, click on the preferences icon while holding down CTRL and then select „Isochronous“ as USB Transfer Mode. That certainly helped me)
Schreibe einen Kommentar