Home Office — redux

About a year ago, I shared how my home office setup looked. It is now not only a year later, but I also moved back to Hamburg and moved everything into a combined office&hobby room. And with that, I also upgraded a few key features of the space.

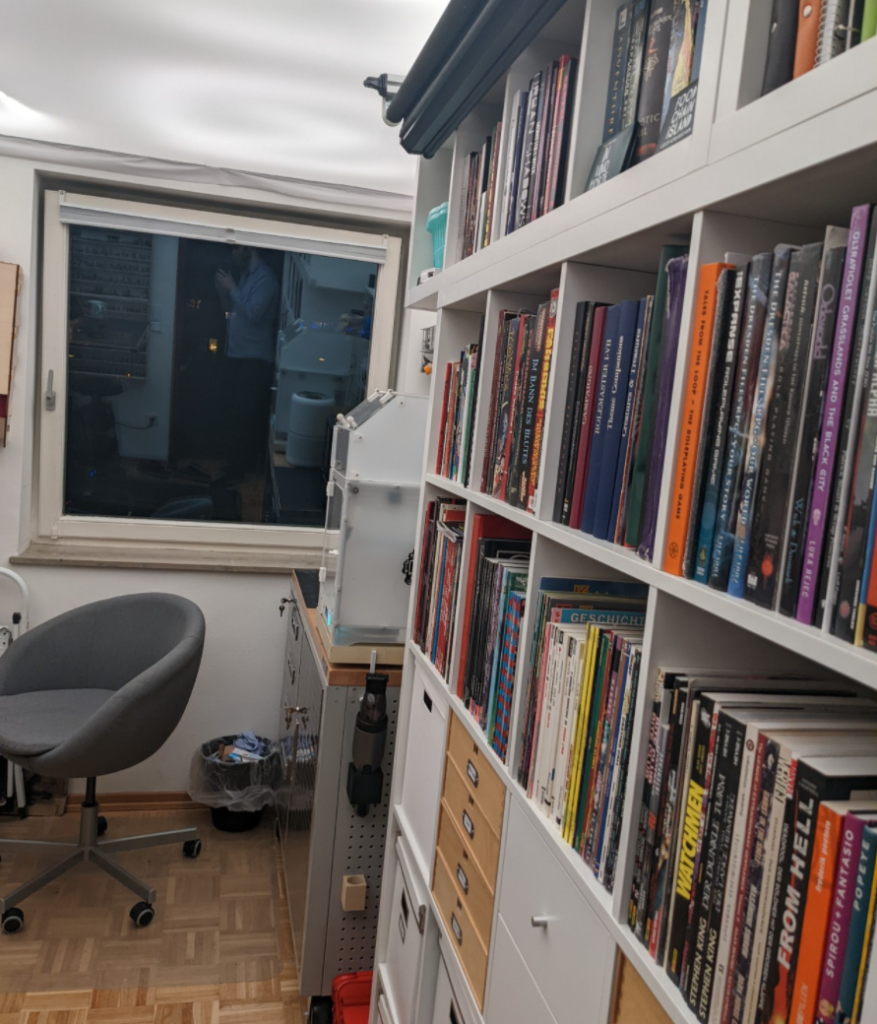
Let’s start with the room itself: It is a rather small one, so I had to think of space economics. In the end, I settled for the traditional center aisle with desk, workbenches and storage along the sides, keeping the window free so I could move about the room at ease.

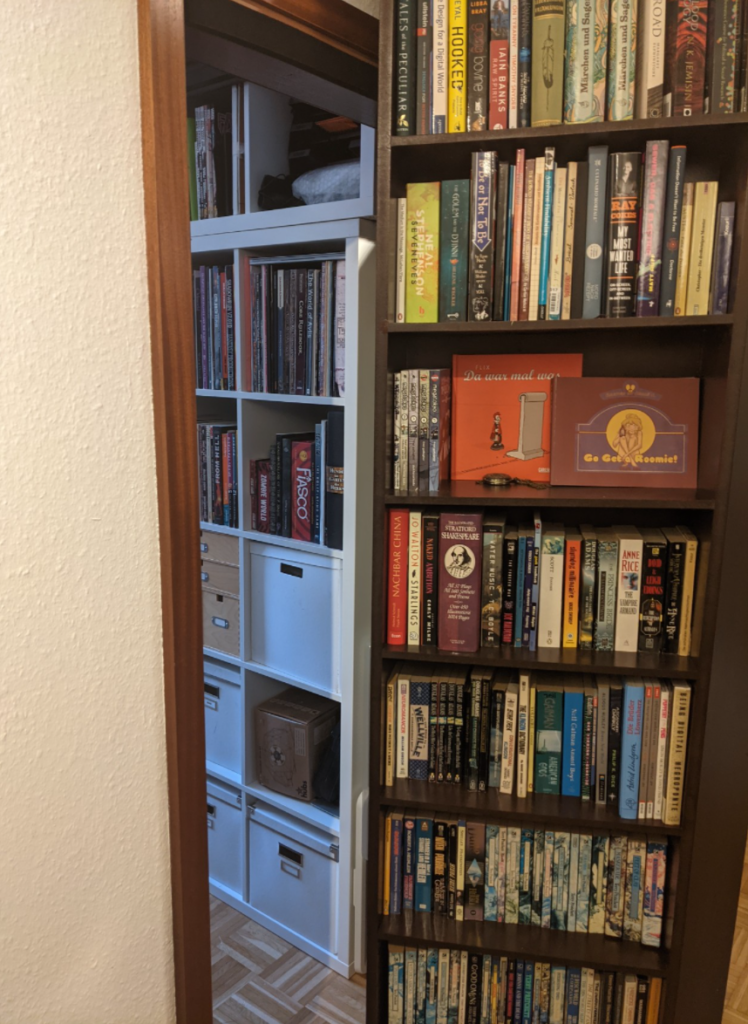
That meant that I had to get rid of the door, as it opened to the inside of the room and would have been blocked by the storage shelf. As a replacement, I fulfilled that inner nerds dream and built a secret door!
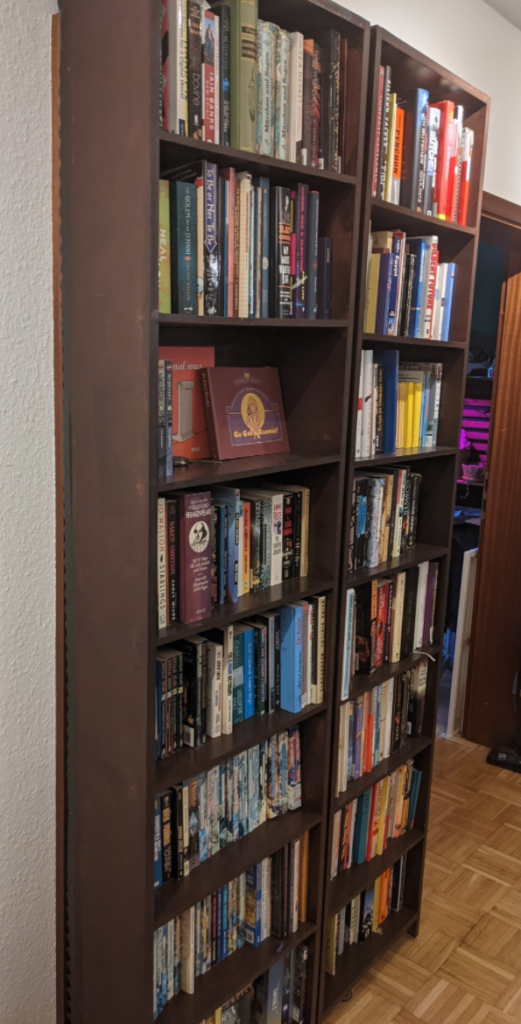
The room now houses not only my desk, but the printer, the filing storage, a workbench, all my tools and hobby supplies, two 3D printers, a borrowed laser cutter and all my roleplaying games and comics. Pegboards on the walls keep the more frequently used items in easy reach. Otherwise, I took full advantage of the laser cutter to have nice labels on all the drawers, so I don’t have to remember where the different tools are.

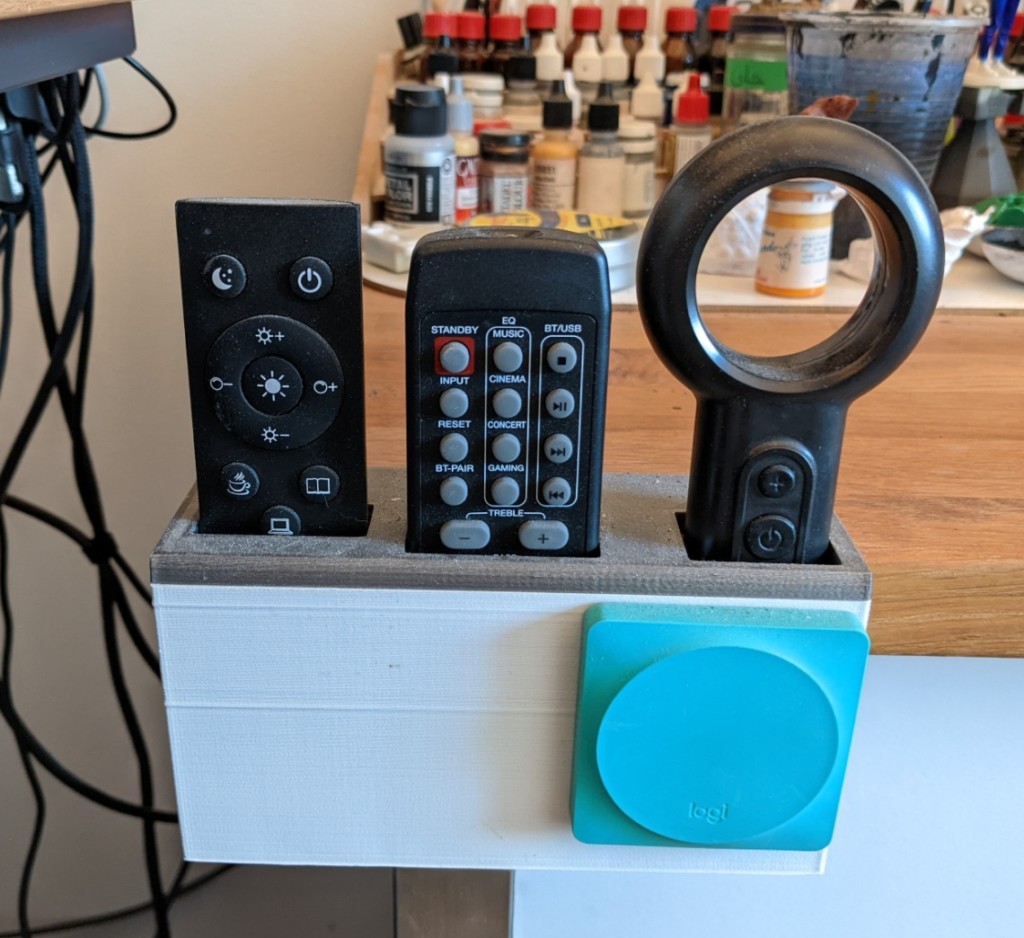
And yes, the motordesk and treadmill are still there, and I also managed to put the remote control holder into a fitting place on the workbench. That green button is a Logitech POP button that I use to switch the treadmill and 3D printer on or off.
But to the actual desk setup: Since last we met, I added and swapped a few things.

Audio

I ditched the Bluetooth headset for a DECT one. That has a lot better range and audio quality, while also sitting quite easy on the ear. It is a Yealink WH67 with built in speakerphone. As soon as I put the headset into the cradle, it switches from headset to hands-free operation. This happens entirely on the device, any computer or phone connected to the WH67 not seeing that change. I love this, as I never have to twiddle any software settings. And yes, the WH67 also has Bluetooth, so it connects to the computer and the phone at the same time.
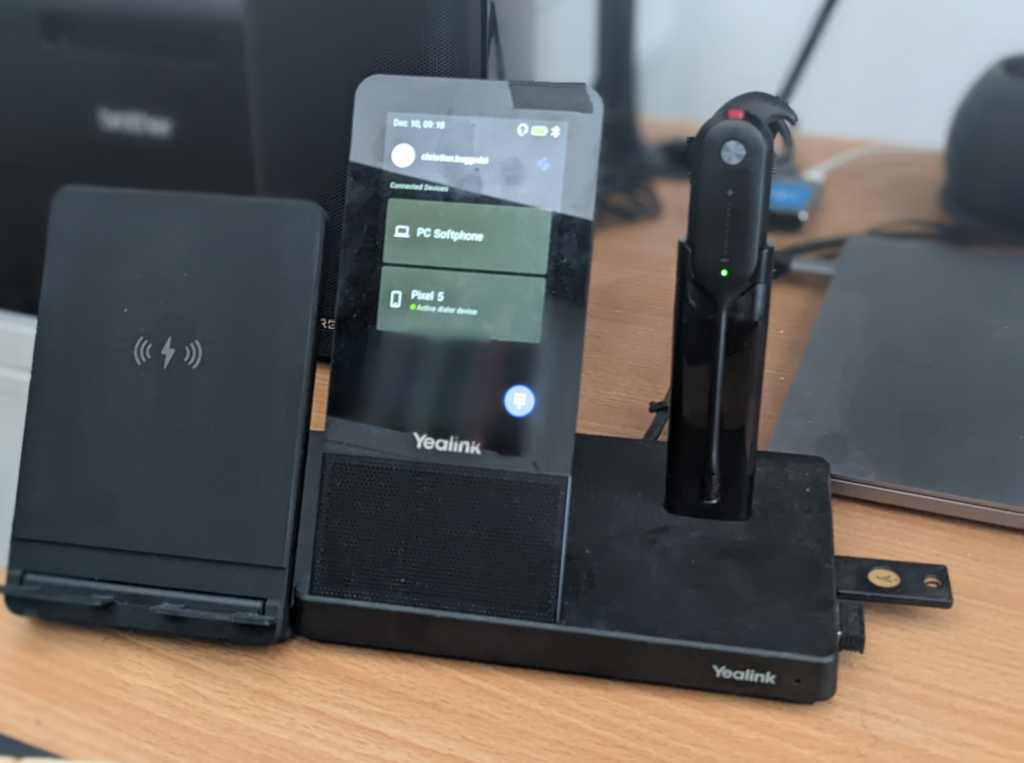
Also, I’ve splurged for the QI-charging module, so the phone gets juice without any hassle too.

Video

The SLR camera is now hidden behind a black box that acts as a teleprompter. I rarely use that for the usual purpose of reading a script, but to be able to make eye contact during conference calls. It is entirely self-built from foamcore, wood glue and black paint, with the only bought addition being the 12″ USB‑C screen and proper teleprompter glass, that reflects from the front surface of the glass instead of the back, providing crisper contrasts to me. It does eat some of the dynamic range, but not too much to be a bother. (Eventually I might update to a brighter screen to compensate, but that’d need some more serious budget).
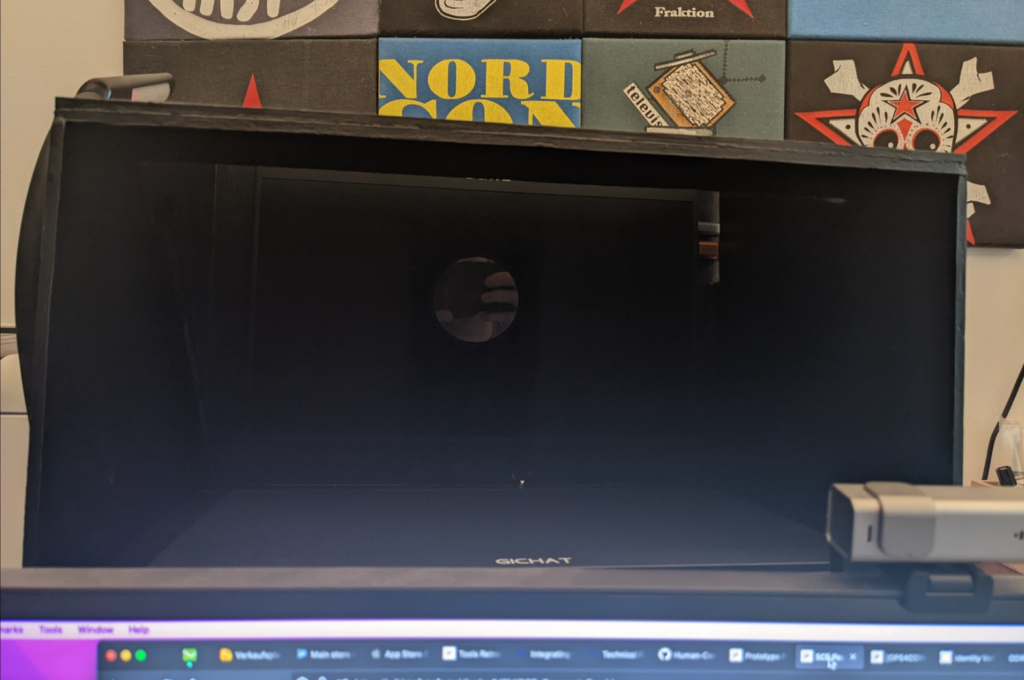
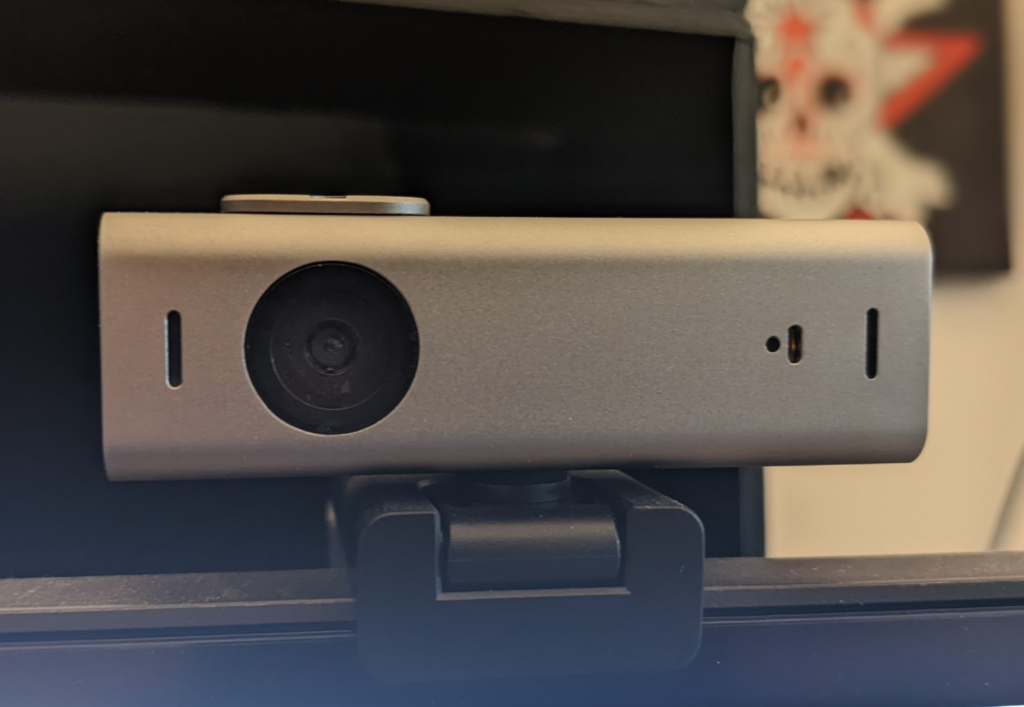
Also, the standard webcam is right now a Lumina, some crowdfunded, allegedly more intelligent camera with better colour calibration and more processing. Might go back to the Logitech BRIO eventually, but for now, I am giving the makers a chance and see what the software updates bring…
Lights and Buttons

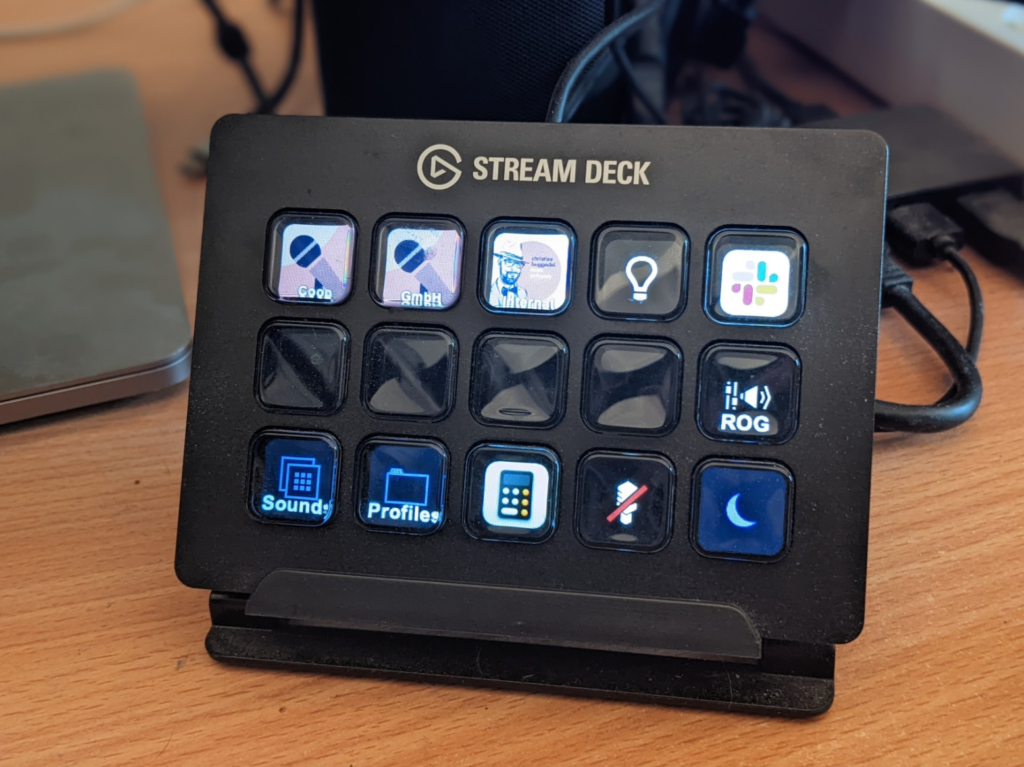
On the other side there is an Elgato Stream Deck. This is mostly a toy / luxury purchase, but it does come quite useful when hosting online events. Routing my camera through OBS I can easily blank my video feed, swap backgrounds, pipe in waiting music, etc. Just having a hardware button to mute myself or blank my video is already a godsend. Also, it controls the room light!
Speaking of room light: I splurged and installed a light-up ceiling. Six 4m RGB zigbee powered lightstrips that are hidden behind a semitransparent white cloth. They could be a tad bit brighter, but for now, this is pretty good to keep the winter depression at bay. And I have a button for „Red Alert“ :D
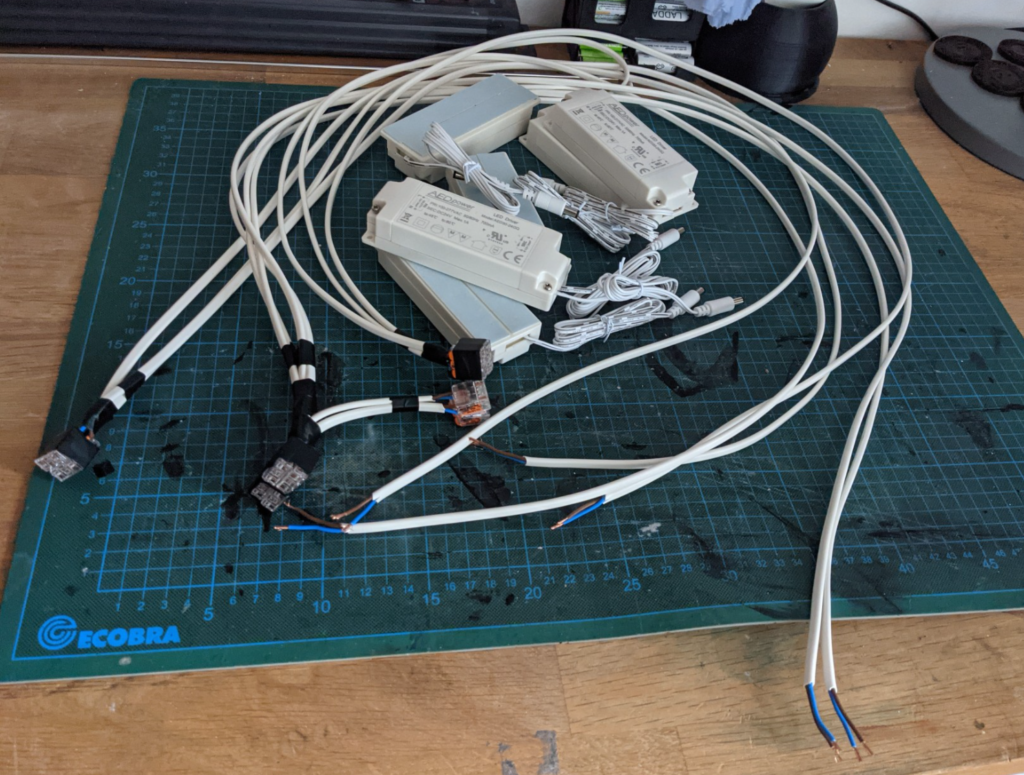
SO many calbes needed to be attached and sorted for the ceiling
admit it, it’s pretty.

Warum man nicht neutral über Blockchain oder NFTs berichten kann.

Immer wieder sehe ich Journalisty und Medien, die versuchen „neutral“ über Blockchain oder NFts zu berichten. Im besten Falle geschieht dies, da man diese ja nicht einfach direkt kritisieren könne, ohne dem Publikum das ganze vorher einmal zu erklären.

Ich (und sehr viele andere) sehen NFT und Blockchain aber eben nicht als neue Technologie , die man neutral betrachten und erklären kann, sondern als das Äquivalent zu radioaktiven Klärschlamm.

Sprich, jedes Projekt, dass damit in Berührung kommt, ist sofort kaputt und verseucht. Aus unserer Sicht sind Berichte über das Thema, die das erst einmal hilfreich erklären wollen, so sinnvoll wie ein Bericht mit dem Titel: „Radioaktiver Klärschlamm — alles was Du wissen musst, und wie Leute damit Geld verdienen.“

Artikel, die radioaktiven Klärschlamm unbedarften Leuten verantwortungsvoll erklären wollen, müssen also tatsächlich zunächst ernsthaft über Gefahr für Gesundheit und Umwelt aufklären, und warum Kontakt damit schlimm sei, bevor man überhaupt zu irgendwelchen Vorteilen kommen kann.

Ich verstehe jetzt natürlich, dass diese Ansicht Blockchain == „radioaktiver Klärschlamm“ für manche streitbar ist. Aber aus meiner Perspektive als IT Mensch mit über 20 Jahren Erfahrung, und in meiner Peer-Group aus Entwicklern, IT-Sicherheits und Datenschutzexperty, Aktivisty, CTOs, CISOs, etc. ist diese Sicht absolut unstrittig. Es fallen Sätze wie

Crypto/NFT sind die heutige Variante der CDO und der kommende Auslöser der nächsten Finanzkrise.

oder

Web3 ist damit ein politisches Programm, welches sich gegen ein offenes Web mit zumindest dem Potenzial zur Partizipation richtet und dieses ersetzen will durch eine Token-Infrastruktur, bei der für jede Aktion irgendjemandes Smart Contract die Hand aufhält.

Tante auf https://www.golem.de/news/web3-die-komplette-finanzialisierung-des-internets-2202–162689.html

Meine Lebensgefährtin hat in einem Blockchain Startup gearbeitet, und sich die Szene von innen angesehen, und kam ebenso zu diesem Schluss. Ich habe mich auf Parties und Konferenzen mit Blockchain-Enthusiasten unterhalten, und musste denen noch einmal erklären, warum ein öffentlich einsehbares und unabänderliches Archiv aller Stimmen garantiert kein sinnvolles Vehikel für eine Bundestagswahl sein kann.

Aus unserer Perspektive sind Blockchain-Befürworter das Äquivalent zu wissenschaftsskeptischen Impfverweigerern, und Berichte, die da versuchen „sachlich“ erst einmal die Technik zu erklären, ohne die Kritik in den Vordergrund zu stellen, sind für uns das Äquivalent zur Bild-Zeitung, die fragt, ob man wirklich „diesen Virologen“ trauen darf.

Es kann in dieser Sache keine neutrale Berichterstattung geben!

My 3D printing setup

I have had 3D printers in the house since 2015. But it took 5 years and a lot of frustration until I finally got to a setup where I am happy with what I am doing.

It began with a positively tiny M3D Micro — a very basic, consumer-grade 3D printer with a proprietary slicing software, no heated build bed, and not a lot of power. Especially the very small print area coupled with no heated bed made it a device I never really got a lot of use out of.

Eventually I upgraded to a CR-10S, then later tried to replace that with an Artillery Sidewinder, but the gist is: I love 3D printing, but not tinkering with 3D printers. And most, if not all of the <1000 Euro devices are in the end things you need to tinker with. Replacing the fan shrouds, choosing the correct hot ends and nozzles, upgrading the mechanics, the software, writing your own configuration files and measuring e‑steps… it is the equivalent of owning a vintage car, so you can get your hands greasy. 

Which is not me, so after the printer again ate all the filament and had the nozzle or extruder clogged, I gave all of the stuff away to a local maker space and was ready to give up on the hobby completely.

Based on the insight that there are printers made for me though, I finally caved and spent way more money than I initially intended for this hobby and bought an Ultimaker 3, quickly followed by an Anycubic Photon Mono SE. As a result, this is my setup:

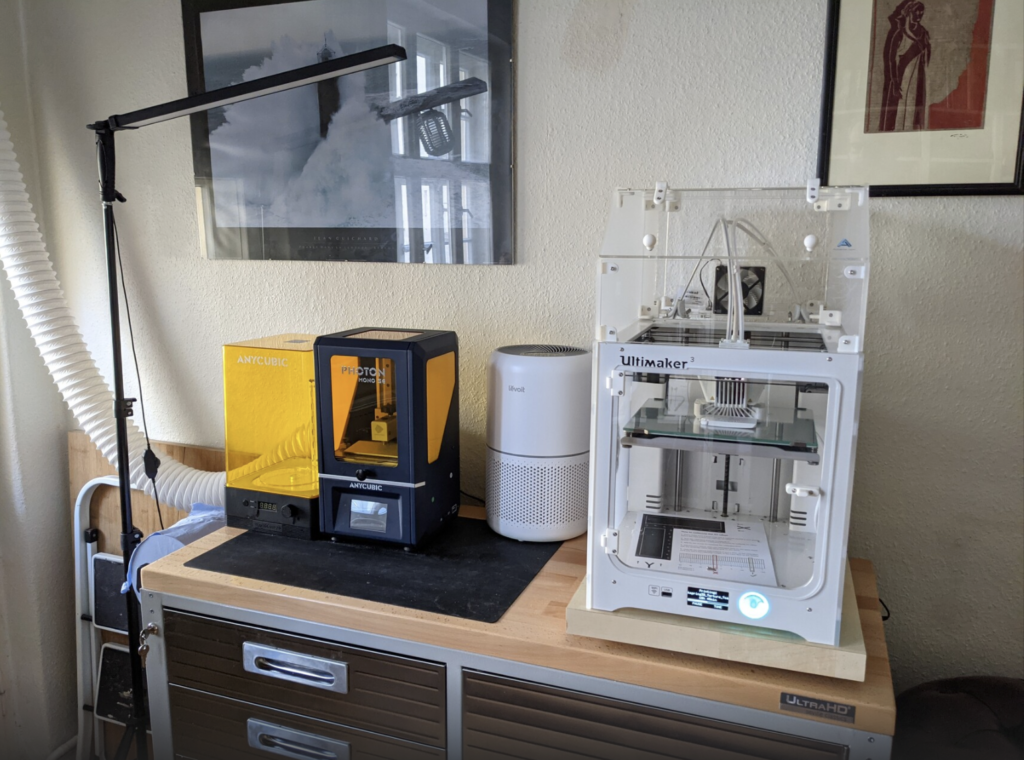
the whole setup

The sideboard is a workbench-on-wheels, so I can move it around in a pinch. It houses all the accessories for the printers: Extra filament, resins, isopropanol for cleaning resin prints, breathing mask, nitrile gloves, extra paper towel rolls, small tools, and so on.

On top of the workbench, you find the Ultimaker 3 (UM3), sitting on a thick countertop mounted on a rotating swivel. I added that because the filament spools are attached to the back of the printer, which is also where the feeding mechanism is. Getting to those is a bit hard, so having it easily swivel is a pretty handy thing. The heavy countertop helps to minimize vibrations spilling over onto the print.

Aktivieren Sie JavaScript um das Video zu sehen.
https://www.youtube.com/watch?v=wG0PN5-iHGY

The UM3 is a Fused Filament Fabrication printer that takes spools of plastic filament, forces it into a hot metal tube where it melts and then through a fine nozzle drawing a line. Through an assortment of gantries and motors, it can draw these lines into basically any shape, lowering the print bed gradually to build up a true 3D model. The good thing with the UM3 is that it is designed for commercial use. That means that it comes with a good workflow for easy handling, and has parts that can be swapped out without any hassle. It „just works“. And when I want a finer or bigger nozzle, to have more details or more speed, I can swap those out in a few seconds without any special tools.

I also added a hood on top of it, to keep the warm air inside, which tends to make things a bit more reliable. But that is it really for modifications — otherwise, this is a stock printer. And I must say: For functional parts or bigger things, this is a very good machine, and I am very happy with it.

Next to the Ultimaker is a small air filter. I run that whenever I am printing with resin or filaments that emit obnoxious fumes. It has a VOC (volatile organic compounds) filter too, for extra safety.

Next to that is the Photon Mono SE, a masked stereolithography, or MSLA printer. It works by shining UV light through an LCD screen onto the transparent vat filled with resin. The screen lets only parts of the UV light through, and where the resin is exposed to it, it hardens. Then the build platform is raised a bit, liquid resin flows into the gap, and the process resumes until a threedimensional object appears from the toxic goo.

The upside with these printers is that they are insanely detailed. The downside is that their build volume tends to be rather small. The other upside though is that they are mechanically dead simple: Just a platform that moves up and down. That means that the main pricing factor is the LCD screen that blocks the UV light. As a result, even the cheap versions of these printers can be pretty good. You pay more if they are larger, faster, or have a better resolution (but keep in mind that the cheapest MSLA printer will probably blow the most expensive FFF printer out of the water in terms of resolution!)

The Mono SE that I have is a mid-priced one. It has a higher resolution and is a lot faster than the cheaper options. Also, the housing is made of metal, and that kinda appealed to me.

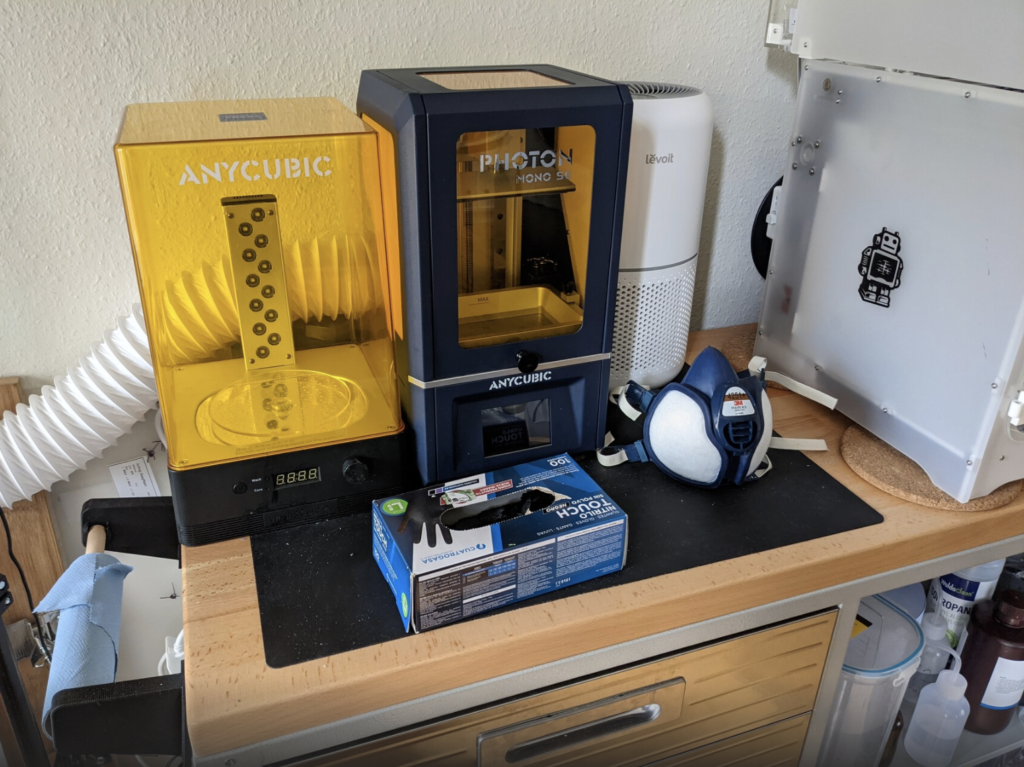
The printer and the Wash&Cure station next to it sits on a silicone mat, to make resin cleanup a bit easier. Because trust me: That stuff is nasty, and you do not want it on your skin, nor in your eyeballs or lungs! It is thankfully pretty easy to protect yourself though: Wear nitrile gloves and a respirator, or at least a paper mask plus eye protection in case of splashes (I already wear glasses anyway, because I have bad eyesight). While the printer runs, ensure you have good ventilation. I added a 4″ hose to the back of the printer and use that to draw the fumes out of the flat, which works surprisingly well. The active air filter is just an extra precaution on my end.

Functionally, the printer is otherwise stock too — although I added a few accessories:

  • a lid for the resin vat, so I don’t need to always put the resin back into the bottle between prints
  • a small plastic gizmo that allows me to hang the build plate over the vat at an angle, so the remaining resin can safely drip back onto the vat
  • a magnetic build surface. A sheet of spring steel that is magnetically attached to the build platform. When the print is done, I can simply pop off the models instead of having to handle a scraper, or worse
safety first

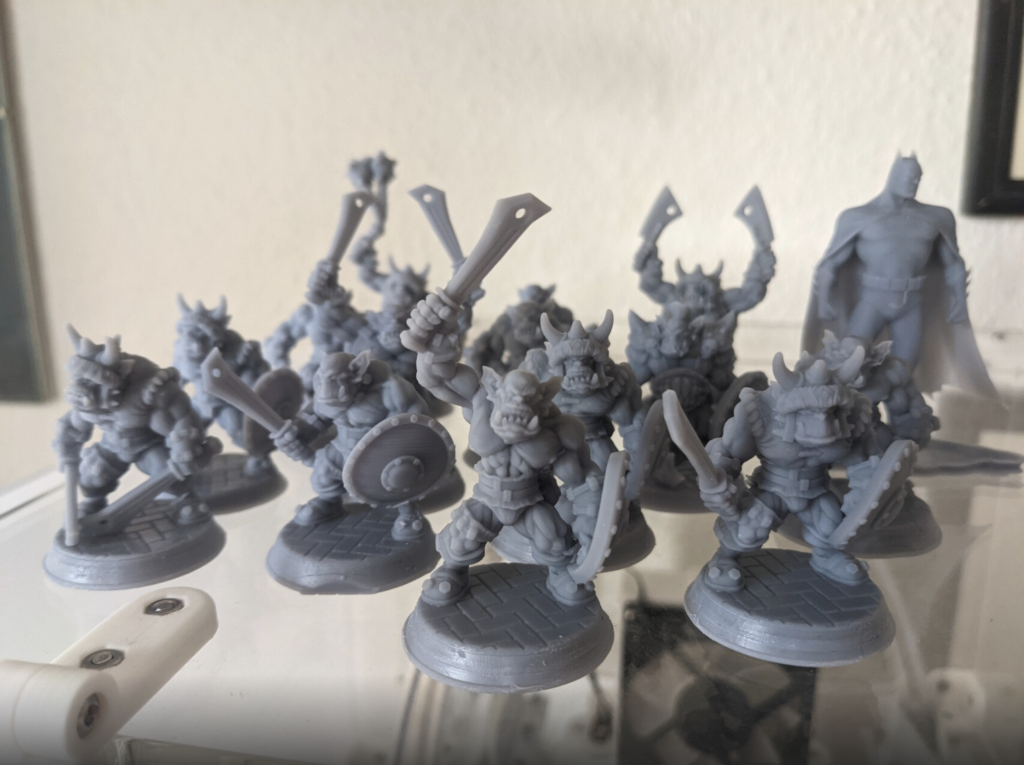
The last thing on the table is the Wash & Cure station. Once the prints are done, I’ll pop them into a wire basket and drop that into a bucket of isopropanol. The bucket has a magnetic impeller at the bottom, and the W&C station has a motor that makes it spin, thus agitating the isopropanol and giving the prints a good rinse, washing off all remaining liquid resin. Once done, I dry the prints and replace the bin with a rotating plate on the W&C station. The prints get put onto that, a UV safe hood on and then the station slowly rotates the plate while exposing the prints to more UV light. That „cures“ the prints, so they don’t feel sticky anymore and are properly hardened. The results are frankly astounding:

Batman and the Orks

At the side of the workbench is a holder for a roll of lint-free paper towels, to clean up messes and such.

Overall, I am quite happy with the current setup. Everything works fine, and I can start FFF prints from my desk (the UM3 has wifi). For MSLA prints, I still handle a USB stick, but that is actually fine for me, as I need to go there anyway to pour resin, prep the surface with paper towels, etc.

On the computer side, I use the following resources:

  • tinkercad.com and Microsofts 3D builder for creating or modifying models
  • thingiverse.com, myminifactory.com and thangs.com to get new models. (Also various Kickstarters. The Orcs from the picture above are from this campaign.
  • For the UM3, I prepare the prints with Ultimaker Cura (which can read the printers settings and inserted filaments through the network and also sends the print jobs directly to the printer)
  • For the Mono SE I am still figuring things out, so I am switching between the Photon Workshop that came with the printer and Lychee slicer. The latter seems nicer, but won’t work without registering and connecting to their cloud on every use. 

looking at my home office setup

There’s probably oodles of articles like this by now, but this is mine.

So, since roughly march last year, I’ve worked exclusively from home. At the start, I simply plonked down the company laptop on the dinner table, but then gradually reworked and upgraded the setup.

This is how it looks today:

Let’s break things down bit by bit, and explain the history and purpose of the individual parts.

The monitor is an ASUS 34″ gaming monitor that I bought when I finally retired my old All-in-One deskop PC and got a plain midi-tower unit instead. That PC is fit for gaming, and used to sit on top of the desk, behind the monitor. Alas, the company laptop wants to be used daily, so I needed a permanent space for it. That means that now the PC is strapped to the side of the desk.

The desk itself is a motorized standing desk. As you can see, it is pretty deep, but only 80cm wide. It is that deep because by now it is old enough to buy alcohol in the States. And back in 2000, desks had to fit ginormous CRT monitors. The small width is due to the fact that it originally was part of a combination next to a much larger desk. When I was still working in Hamburg, it accompanied me through several offices (all part of the same company group), and when I moved to Berlin in 2015, they let me take it to my new home. Having it in the living room is ok, as it doesn’t take up too much space, and the cats appreciate its placement close to the window.

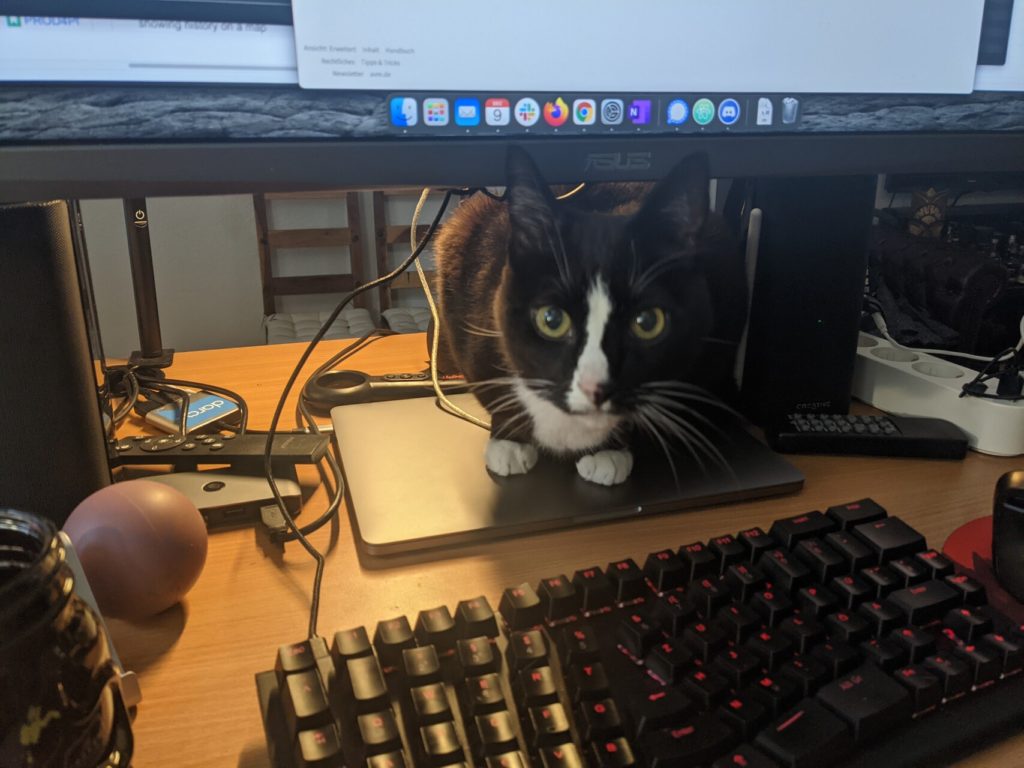
Hop Sing appreciates the warm sitting place

When I sit, I sit on an IKEA stool. It is one of these ergonomic things that keeps wobbling a bit, thus allegedly strengthening my back.

Eventually I attached the monitor to a heavy duty arm. The main purpose of that arm is to free up desk real estate. The rather bulky original monitor stand, plus PC, plus Notebook, plus peripherals made the desk too cramped.

As the PC is strapped to the side of the table, I also managed to route all the cables more or less prettily.

All I/O peripherals like mouse, webcam, keyboard, etc. are attached to the monitor and a switching USB hub. So when I switch devices, I press one button on the USB-switch and also select a different input on the monitor. That is pretty painless and saves me from constant re-plugging of devices.

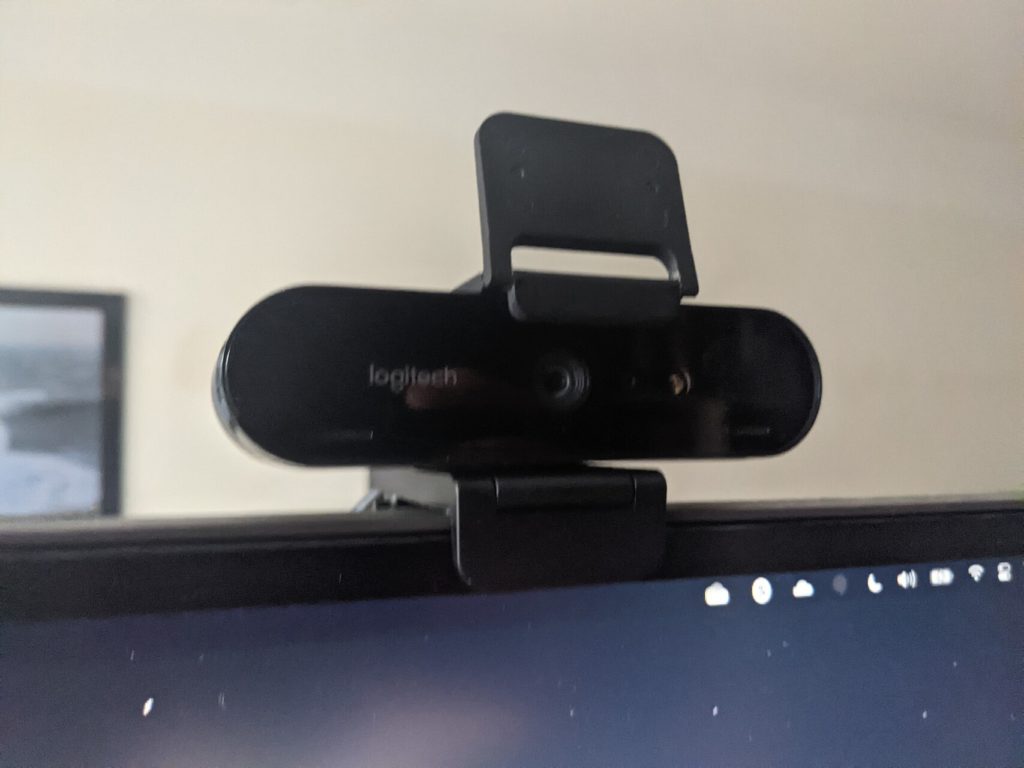
For the longest time, I used a Logitech BRIO webcam. It is nice enough, and especially the built-in microphones are pretty decent. But as I do not live alone in this place, I most of the time use a set of Bose QuietControl 30 Bluetooth earplugs. The battery lasts for about two days of calls and the active noise cancelling lets me be undisturbed.

the camera I am not actually using anymore

When I am not sitting or standing, I walk. Right under the desk sits a desk treadmill. To use it, I just push the desk back about 1 meter (it is on wheels) and start the thing up. That takes about 30 seconds of effort, and then I’m off. By now I can actually walk and work at the same time, this blogpost is being written as I am walking!

Overall, I spend about only a quarter of my desk time sitting, the rest of the time mostly standing or walking.

In order to keep my hands and wrists healthy, I have switched to an ergonomic keyboard and a wireless vertical mouse. The keyboard has a detachable numblock, and I am quite happy without that thing — I need it only rarely, and it does save that sweet desk real estate!

The monitor has built-in speakers, but frankly, they aren’t the best. Instead I plugged in a pair of Creative monitor speakers. They are small enough but have decent enough sound for YouTube videos and the occasional game.

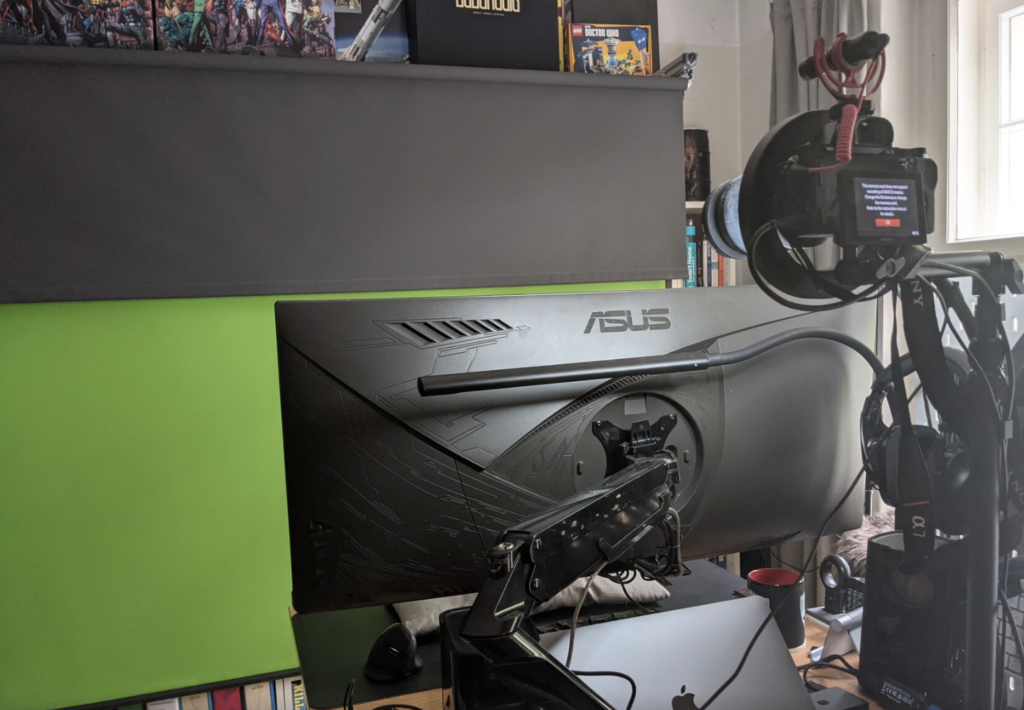
As my job has me do lots of videocalls with various degrees of expectations regarding my „professional look“, I eventually attached a simple dark gray roll-up shade to the top of my bookshelf. In day-to-day use, it is rolled up and hidden, but whenever I do not want to show off my collection of roleplaying books, I can pull it down to get a nice clean background.

Behind the gray roll-up is a greenscreen roll-up. Using Open Broadcast Studio I can key out the background and do other video shenanigans to make my life easier and looking more professional.

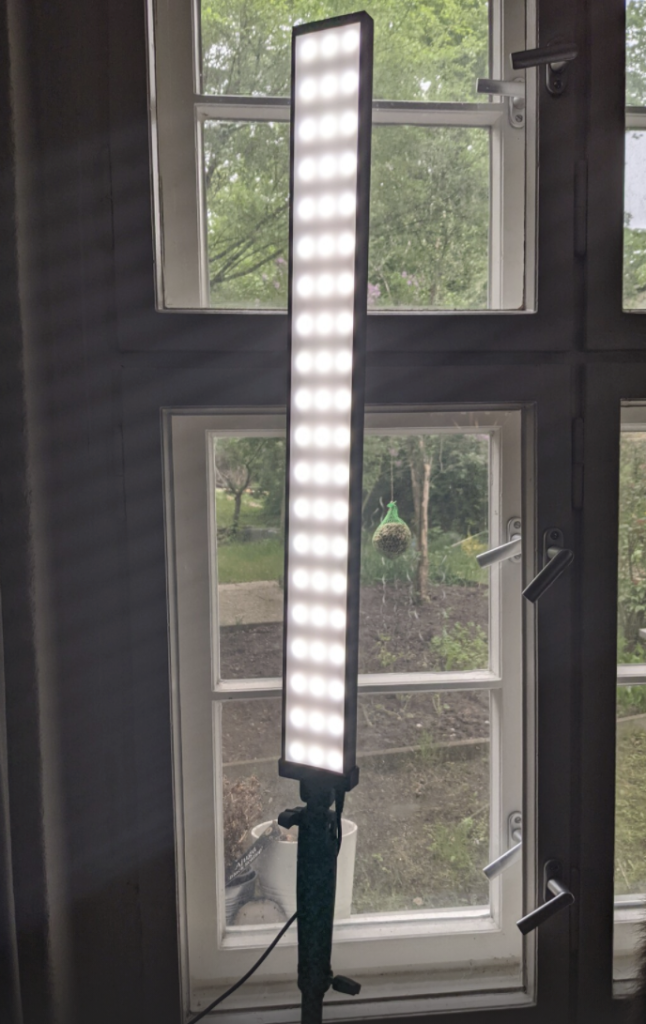
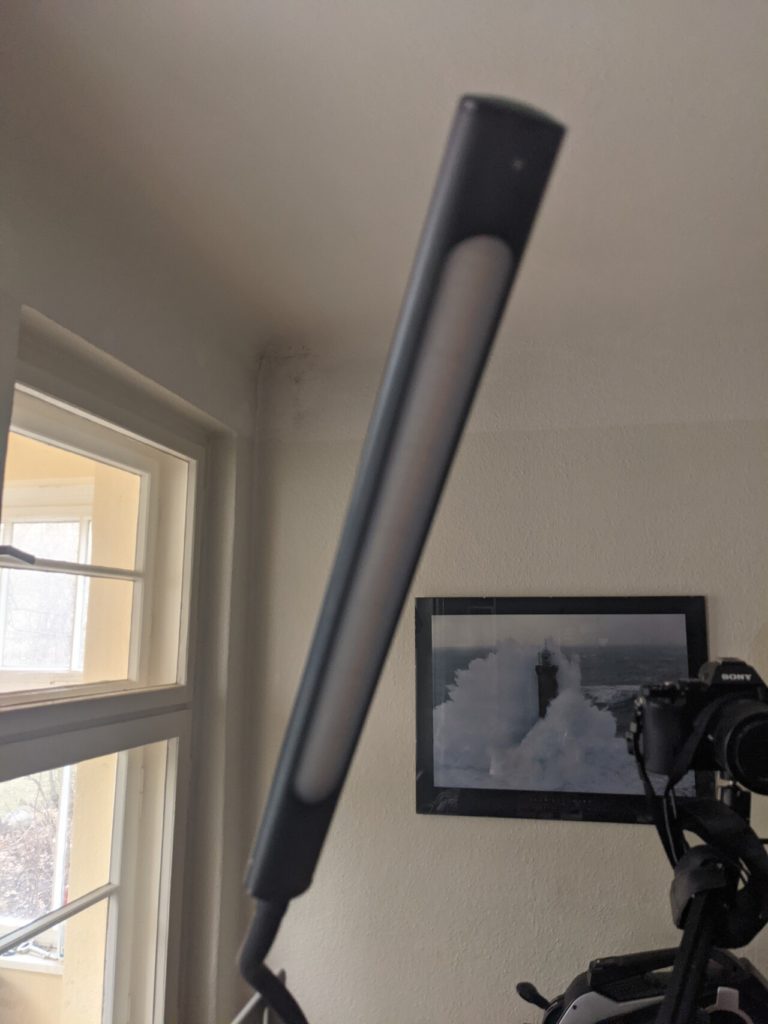
Pro-tip if you want to use a green screen: Do not skimp on light. The better your lighting, the easier it is to key out the green. I added two inexpensive Neewer brand light sticks to my setup — one lives inobtrusively in the corner and the other moonlights as a workbench light and gets carried over whenever I need to do „proper“ videoconferencing.

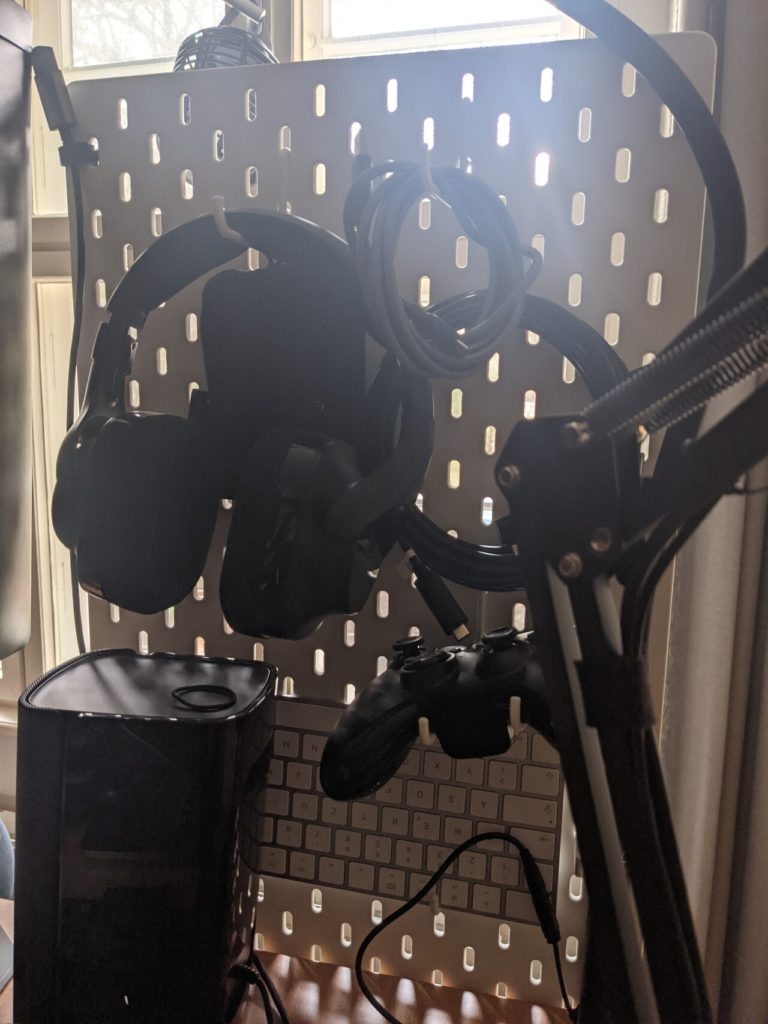
The desk has a simple LED light stick on a gooseneck stand attached to it. It has some brightness and light temperature settings, which helps a lot with eyestrain in the evenings. As the desk has no drawers or similar, I attached an IKEA pegboard to the side, to hold cables, adapters, headphones, and so on.

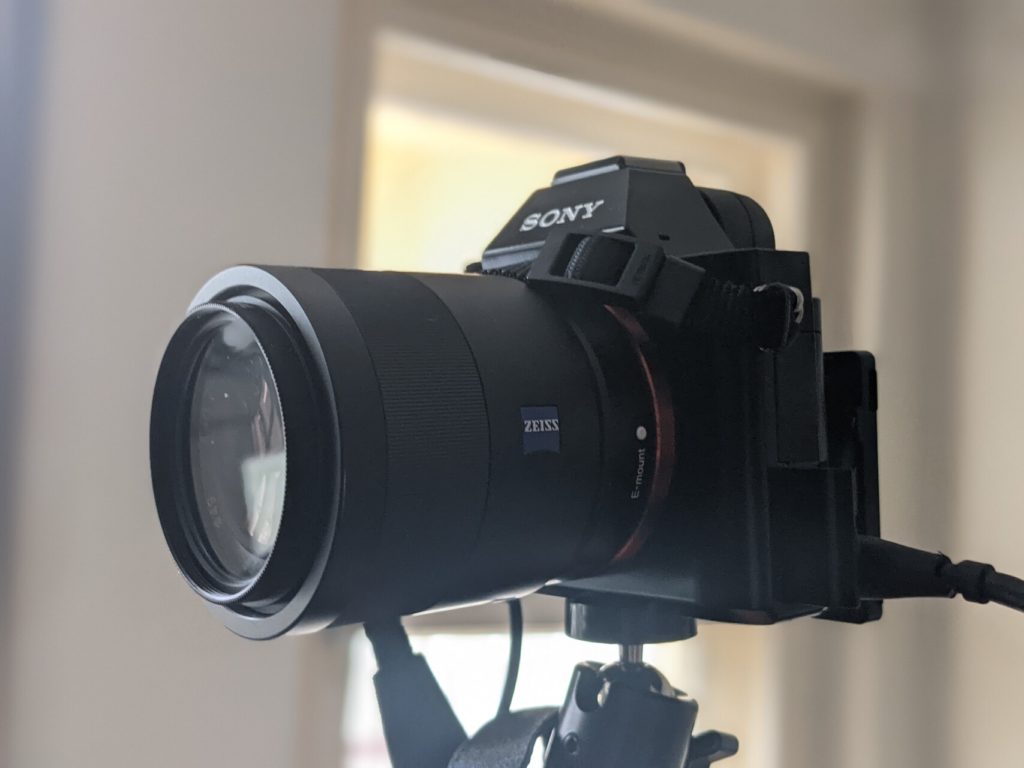
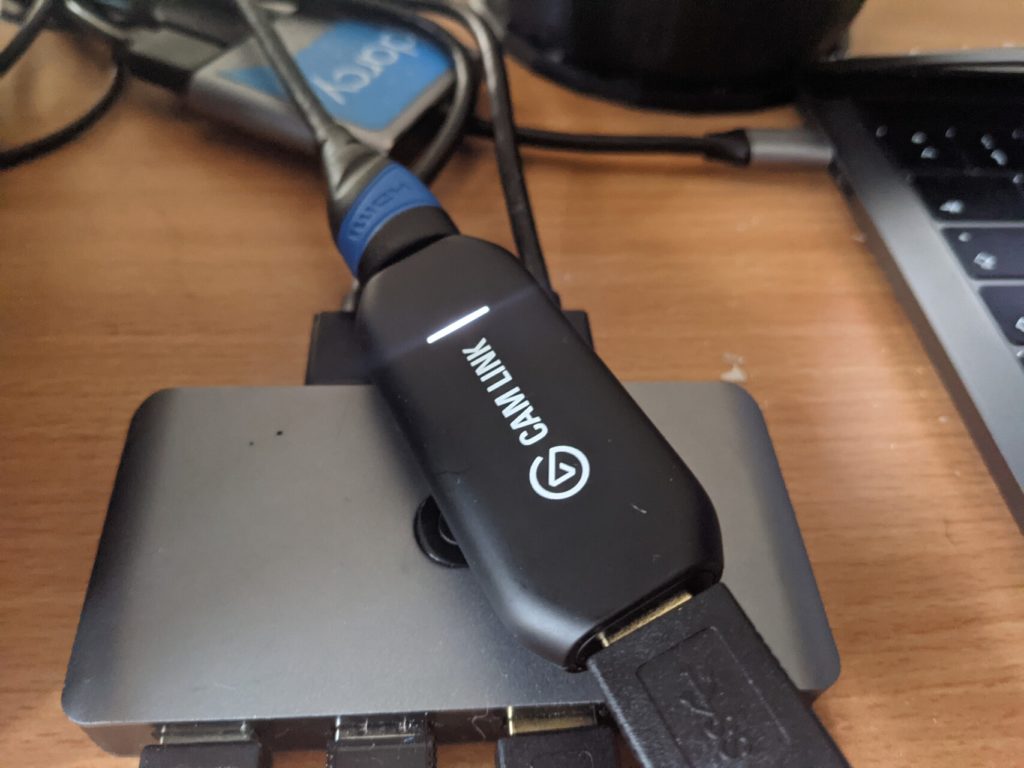
The latest addition to my setup has been a Sony A7S digital camera, sitting atop a cheap camera arm. It is attached to the USB-hub via an Elgato Camlink 4K stick and thus provides quite an excellent alternative to the Logitech webcam. People I videoconference with keep noticing the vast quality difference. Having the background blurred by actual optics instead of some algorithm is really an upgrade. (which I wouldn’t have afforded myself if I hadn’t gotten a good deal for the camera from someone who realized that they didn’t use it all that often.

If you want to use your DSLR as a webcam: Check if it either has a firmware update that lets you use it directly through USB, or that it at least can deliver a „clean“ HDMI output. The latter means that there are no on-screen menus visible on the HDMI signal. The Sony A7S does both, but I learned that the USB-webcam functionality is pretty bad. It requires a certain sequence of switches each time you turn the camera on, and doesn’t work with all programs on a Mac either.

The Elgato Camlink solves that rather elegantly. The other thing I did was to get a so-called „dummy battery“, which you put into the camera instead of a battery and that then draws power directly from a USB charger. I set the focus to automatic, the camera to „video mode“ and now I just need to power the USB cable and everything works.

(if you use Windows 10 and the stick keeps disconnecting — download the Camlink capture software, click on the preferences icon while holding down CTRL and then select „Isochronous“ as USB Transfer Mode. That certainly helped me)